** This post is written and edited by a human being **
Phalaenopsis orchids make a great hobby! Not only are they the easiest orchid type to care for. But they’re also affordable and widely available nowadays!
There is something captivating about these magical plants. When you have one, you want another and another – quickly becoming a full-blown hobby! As with all hobbies, it is advisable to be prepared and have all the essentials for orchid care readily available. Let’s explore them in more detail below!
So what do you need for keeping indoor orchids? You need orchid potting mix, clay pebbles, perlite, pots, pruners, tweezers, disinfectant, fertilizer, staking sticks and clips, humidity trays, a hygrometer, a PH measuring device, and cotton pads.

ORCHID POTTING MIX
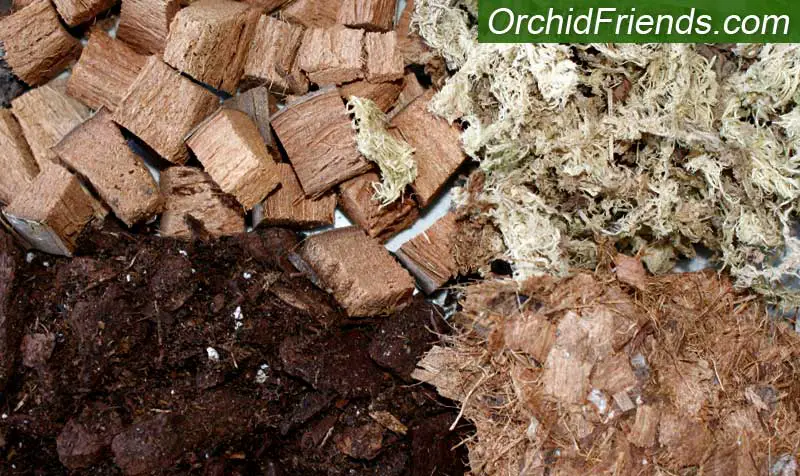
I always have different types of orchid potting mediums at hand. Right now in the storage, I have sphagnum moss, coconut husk chips, coconut husk coir, and ready orchid potting mixes.
The reason why I have several different types is because I prefer to select what to use for each orchid. For smaller Phalaenopsis orchids I use finer potting mediums, because they retain water for longer periods of time. (Remember; a small volume of potting medium dries out faster than a big one)
For larger orchids I like to use mediums that are bigger in size – like coconut husk chips or bigger bark pieces. This is purely to quicken the drying time in-between watering, because these bigger pieces provide more airflow to the roots and dry faster.
For rootless orchids or keikis I like to use sphagnum moss only. Even though otherwise I tend to stay away from it – simply because bigger volume of sphagnum moss takes so long to dry! (Don’t want any rotting roots!) But for little orchids or those in need of extra hydration, it’s a fantastic option.
So as an orchid hobbyist, have several orchid potting mediums at hand! Just so there are options to choose from when you suddenly need to repot again.
CLAY PEBBLES & PERLITE
Clay (LECA) pebbles are fantastic for providing more airflow in the pot. They’re not used as a growing medium per se, but as an addition to it. I always drop some clay pebbles in the bottom of the pot when repotting. In addition to added airflow, they also help the excess water to exit the pot easier after watering.
Clay pebbles can also be used on humidity trays – just add a layer of clay pebbles on a tray and pour some water on them. Then put the orchid (in its pot) to stand on the pebbles. The orchid will then catch the humidity coming from below.
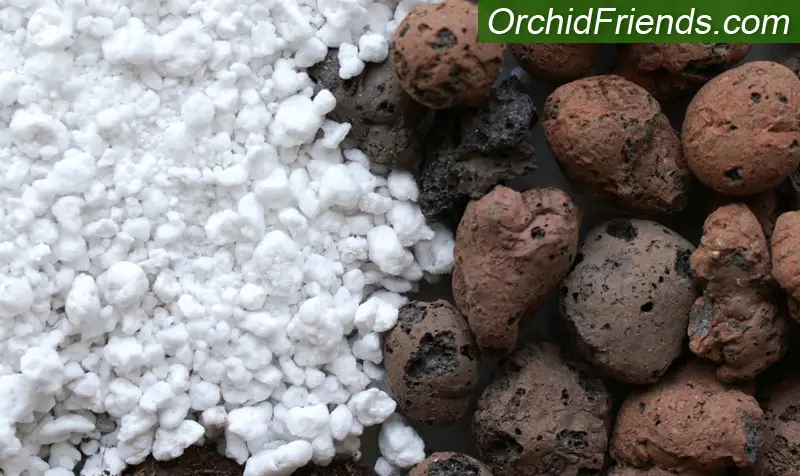
LECA pebbles are just always handy to have around. They don’t cost much money, and a bag lasts you a good while!
Perlite works the same when mixed in the potting medium, to add aeration in the pot. With potting mediums that can get quickly compacted, like sphagnum moss, perlite prevents this from happening. It’s lightweight and holds air and oxygen.
Perlite and Clay pebbles are both inexpensive and can be reused. (As long as they’re disinfected before using again) I recommend having both of them in your ‘Orchid kit’!
POTS
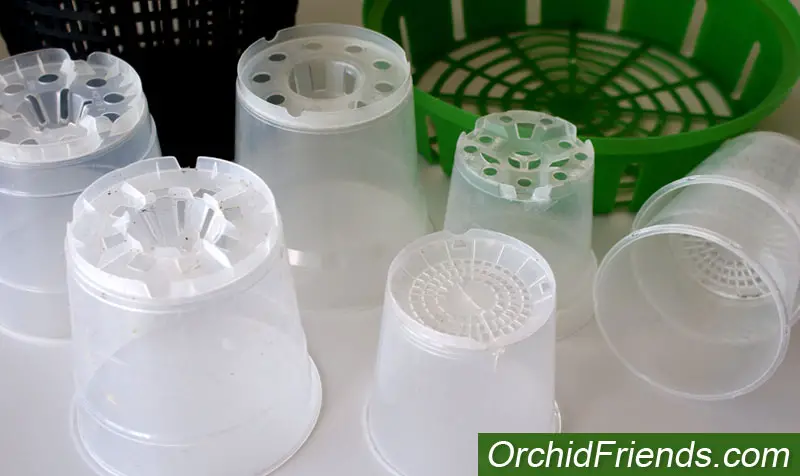
Have extra orchid pots on hand! I always disinfect and save all the old ones. And I buy new ones too, different types and sizes, whenever I see suitable ones.
I’ve sometimes wanted to repot but didn’t have any extra pots at home – and couldn’t find any locally! So I had to postpone the repotting until I managed to get some pots. Note taken! It just saves you time and energy to be prepared.
Of course, you can also make your own pots if you have some clear plastic containers lying around. To do so, though, you need a soldering iron to make air- and drainage-holes in it. If you don’t have a soldering iron, you could also use a hot nail! Or even a drill, if you drill gently enough, so the plastic doesn’t break.
Out of available orchid pot types, I always recommend clear plastic pots. They’re just so handy, mainly because they allow you to see when it’s time to water again! They also allow you to keep an eye on the potting medium in case it starts to get compacted over time. But any kind of netted baskets/pots are great too, because they provide aeration to the roots.
PRUNERS (/SCISSORS)
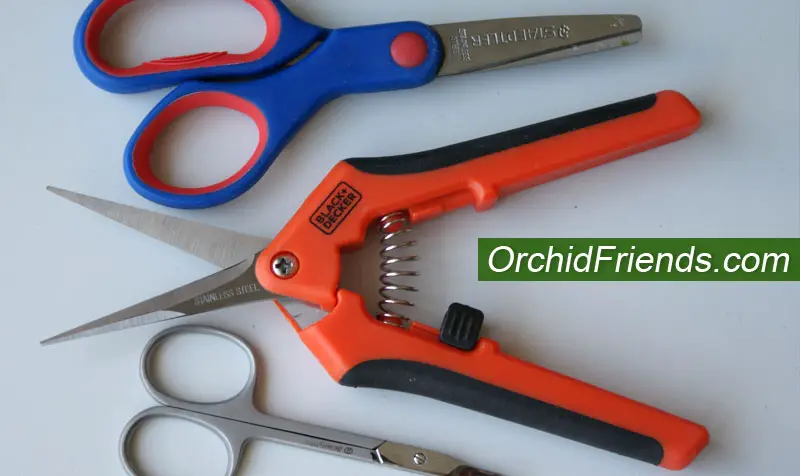
This is an important one. For trimming flower spikes and bad roots, find a good pruner or scissors. I recommend ones with finer straight blades, so they can fit even in tighter spaces. Also, make sure your pruners are made of stainless steel, so no rusting will occur over time.
I used to use normal small scissors for my orchids, and they did the job. But after switching to professional plant trimming pruners, I haven’t looked back since! With Phalaenopsis orchids, you need to cut things more often than not, so add good plant pruners or scissors to your ‘Orchid kit’.
DISINFECTANT & COTTON PADS
I mention this now because it’s important to always disinfect scissors/pruners before-and-after each use!
Orchids can have different viruses that can spread from one orchid to another. If you use scissors on a sick orchid and then forget to disinfect them after use, you could transfer the virus to the next orchid.
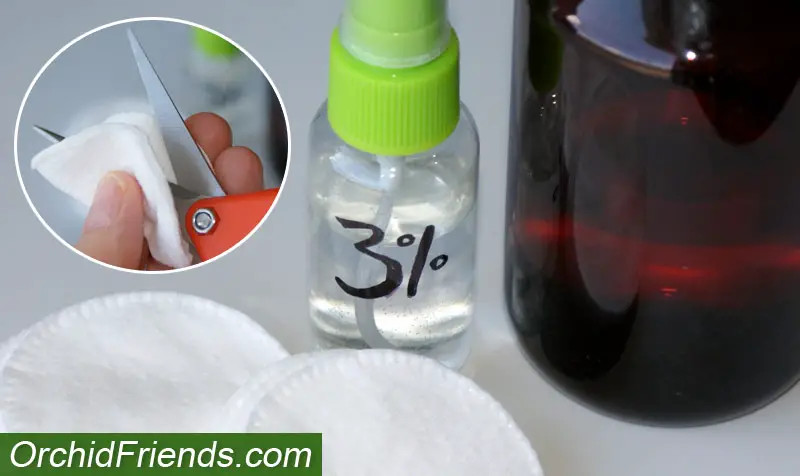
I use Hydrogen Peroxide 3%, just because it’s easiest for me to get. I tap a little on a cotton pad and then wipe the blades with it. You can also use rubbing alcohol or any disinfectant.
Disinfectants can also be used for the orchids themselves. Hydrogen Peroxide 3% is great for cleaning the roots – it kills bacteria and fungus, even pests. Just always make sure to use a mild solution – max 3%! If you have a stronger Hydrogen peroxide solution, dilute it with water before use.
You can also wipe orchid leaves with cotton pads and HP3%. Or even with just water and drop of lemon to polish them up!
I always keep a bag of cotton pads and disinfectant in my orchid storage – they have a lot of use!
TWEEZERS
Tweezers are useful to have to remove old leaf bits attached to the crown. Often, when an old leaf sheds off, there’s a small part of the leaf that stays behind. These can build up over time if they’re never removed.
What’s the problem with them? First of all, they can start to rot over time, soon spreading the rot to the crown. And secondly, in case of a pest infestation, you want to remove any and all hiding places from the pests!
So gently remove all old leaf bits from the orchid – this is easy with tweezers! Just remember to disinfect them before/after use. A good tool to have in the orchid ‘aid kit’.

STAKING STICKS & CLIPS
You can let new orchid flower spikes grow naturally (without staking), but please keep in mind they require a lot of space! And, as they grow towards the strongest light source, they often grow horizontally. So, if your orchid is placed on a windowsill, the naturally growing flower spike will quickly hit the window!
While the flower spike is still growing the orchid shouldn’t be moved around because it will affect the spike’s growth, resulting in a curved or zigzag spike!
Staking the spike upright resolves this issue. All you need is a stake for one flower spike. And clips to attach the flower spike to the stake with!
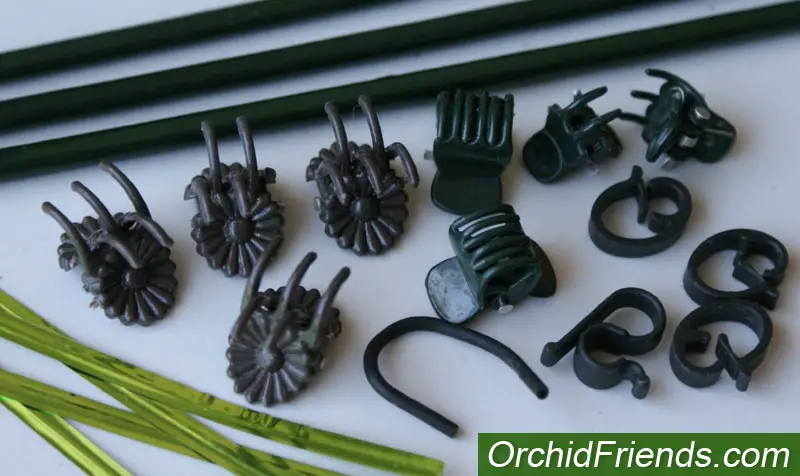
Whenever I bring home a new orchid I always save the clips that come with it. They can be washed and reused. If the stake is made of plastic, it can be reused too. But any stake made of natural material isn’t worth saving, simply because they can’t be cleaned before reuse!
There are many different types of clips. Size-wise, use bigger clips for bigger flower spikes, and smaller clips for smaller flower spikes. You can use decorated ones too, ones that look like butterflies or dragonflies – they all do the job.
As an alternative for ready clips, you can use twist ties too. Or even little string or iron wire if you have nothing else! Just make sure that whatever you’re using doesn’t cut the flower spike.
FERTILIZER
When using tap water for watering it’s not a must to add fertilizer, even though it can always give a boost! But with ‘clean’ waters; distilled, rain, and Osmosis, you must add fertilizer.
The best time to fertilize is always during the orchid’s vegetative stage, which begins once the orchid has dropped its flowers. This is the time when new leaves and roots will start to grow instead!
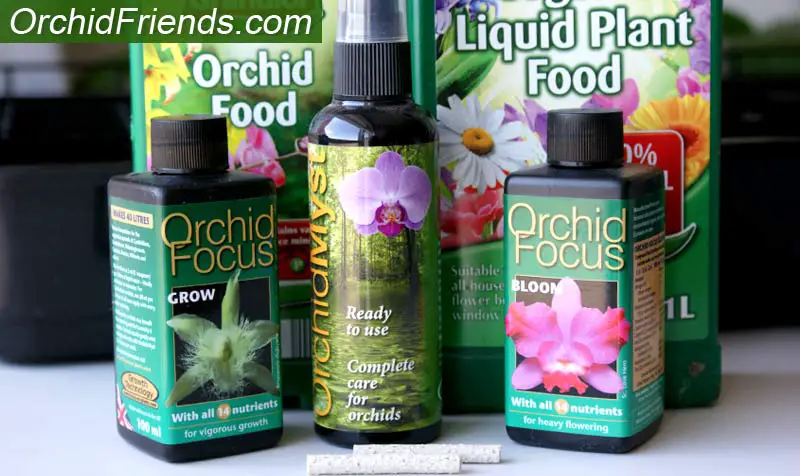
Always give only half (or even quarter) of the recommended amount! Too much fertilizer will burn the roots, so less is more.
I have written a whole article about orchid fertilizer, which you can read HERE !!
HYGROMETER & HUMIDITY TRAYS
I’ll explain these two together because they both deal with humidity. One of the best purchases for my orchids has been a hygrometer. Before that, I could only guess the air humidity. Now I know exactly if my orchids need added humidity. The level should always stay above 40%!
Speaking of which. If you struggle with below 40% indoor humidity, there are a few things you can do to increase it. The first is by making simple ‘humidity trays‘ for your orchids.
I briefly explained this above (under the section ‘Leca’ pebbles) but in case you missed it, humidity trays are simple trays, with something like decorative stones or sand on it and added water. The orchid is placed to stand on it in its pot, so it can catch the humidity coming from the tray.
Humidity trays are simple to make or you can buy ready ones. But if you don’t want trays, you can also place jars and glasses filled with water around your orchids, they will create humidity too.
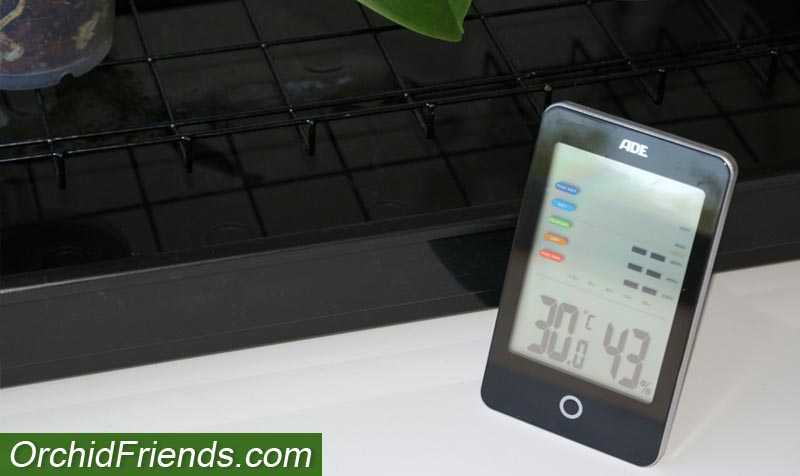
You might not need humidity trays throughout the year, but it’s good to have one or two in your ‘orchid storage’ anyway – just in case you suddenly need it! This might be due to a dry season or even winter season which tends to drop the indoor humidity by 10% (of course depending on where you live!). And these trays are great for dehydrated/struggling orchids too. So I would definitely recommend having at least one on hand.
A PH METER
Phalaenopsis orchids should never be watered with hard water. They need softer water, but not too soft. The perfect PH level for them is 5.5 – 6.5. If you’re not sure about the water you use for your orchids, it is advisable to test it with a PH Measuring Device. Or alternatively, PH test strips, which are normally used to test pool water.
FINAL WORDS
I hope this article has helped you to build your own Orchid “Aid Kit”! It saves time and energy to always be prepared – then you can care for your orchids spontaneously too.
If there are any items you think are essential for keeping orchids that didn’t get mentioned here, then please let me know in the comment section below!
Thank you for reading! Until next time, Orchid Friends!




Hi! I just want to thank you so much for writing these helpful articles & posting them for people! I love orchids and have always struggled with their care! (It’s been made harder than it needs to be by many sources) You’ve given me a newfound hope today to care for them properly! I know many of them are suffering but I think many of your articles have me now on the right track!
With gratitude I hope you have a beautiful day!
Love & Light,
Tara Huber
Dear Tara
Thank you so much for your uplifting and positive comment! Really appreciate it.
When I first got into orchids I really struggled to find proper help. Everything felt intimidating and confusing!
That’s what inspired me to start this blog, so I can share all the information here – as simply as possible! And all in one place.
So I’m happy to hear you’ve found this blog helpful.
Have a beautiful day! 🌼
/Irene